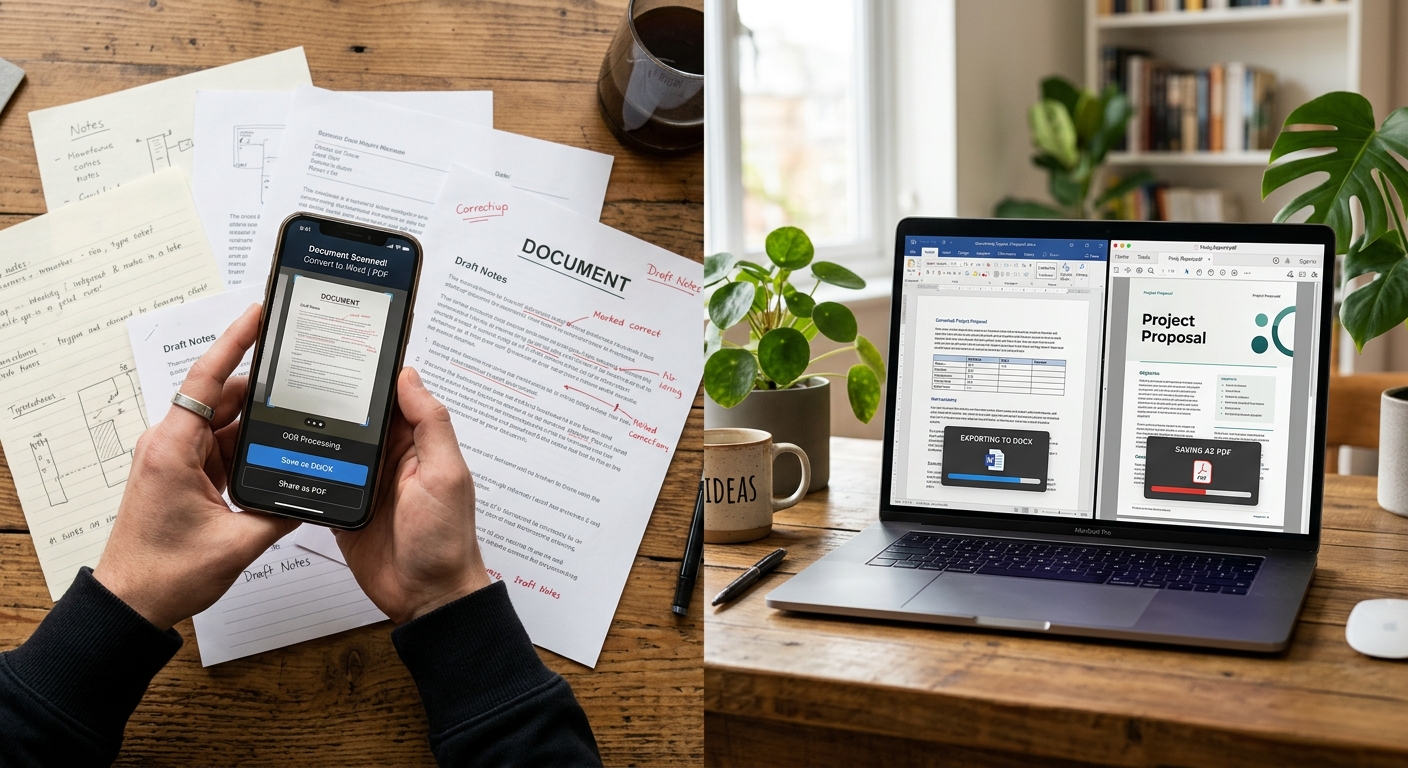
The letter you need to edit is sitting on your phone as a photograph. You can read it, but you cannot change a sentence or copy a useful paragraph into a report. Retyping everything feels wasteful. A more manageable route is to extract the text, tidy it in Word, and create a PDF after checking the finished pages. Each stage solves a different problem, and a little care early on saves plenty of cleanup later.
Your Route From Photograph to Finished File
- Photograph each page flat, straight, and in clear light.
- Extract the wording before rebuilding the document in Word.
- Check names, dates, amounts, and punctuation against the photograph.
- Fix paragraph breaks and apply consistent formatting.
- Export a PDF, reopen it, and review every page before sharing.
Start With a Photograph You Can Read Comfortably
Text recognition works from the details captured in your image. Blurry letters, glare, and deep shadows give it less useful information. Before taking a photograph, place the letter or report on a flat surface. Smooth out folds gently and make sure the entire page is visible.
Use even lighting. Daylight near a window can work, provided it does not create a bright patch across the paper. Watch for your phone casting a shadow over the text. Glossy pages may need a slight change in lighting or position to remove reflections.
Hold your phone directly above the page. An angled photograph can make one end of a line appear smaller than the other. Keep the camera steady, tap the text to focus if your camera allows it, and take the image at a resolution that keeps small print readable.
Open the photograph and zoom in before putting the paper away. Check the smallest text, the corners, and any faint sections. If you cannot confidently distinguish a comma from a period, another photograph may save you several rounds of correction.
Put Your Pages in Order Before Converting Anything
A single letter needs little organization. A printed report with several pages needs more attention. Arrange the photographs in reading order and check that no page is missing or duplicated. Give the images clear filenames so you can match extracted text to its source.
Keep an untouched copy of each photograph. Cropping and rotation can make working images easier to use, but the originals remain useful for checking a footer or a note near the edge. Crop away surrounding furniture while keeping every part of the document that you need.
Decide what your finished Word file should contain. You might need an editable letter with the same paragraphs and contact details. A report may also need headings, tables, and page numbers. Identifying those parts now helps you notice when text extraction misses a section.
What Each File Contributes to the Workflow
| File Type | Best Use | What to Check |
|---|---|---|
| Original photograph | Checking the source wording and page order | Sharpness, lighting, and complete page edges |
| Word document | Correcting text and arranging the layout | Recognition errors, paragraph breaks, and spacing |
| Sharing a finished page layout | Page breaks, readable text, and missing content |
Extract the Wording Before Rebuilding the Document
With your photographs prepared, the next task is to turn the visible letters into text you can edit. This process is called optical character recognition, often shortened to OCR. It attempts to recognize characters in an image and return their wording as selectable text.
You can use photo to text to extract the wording from your prepared image. Follow the available upload instructions, then copy the recognized text into a new Word document. Treat the result as a working draft that needs checking.
For a report, process the pages in order and keep clear boundaries between them during your first review. Temporary labels in your working document can help you track which photograph a passage came from. Remove those labels before producing the final version.
If the paper contains private information, check whether uploading it is appropriate before using an online service. For work documents, follow your organization’s document-handling rules. A permitted local text recognition option may be more suitable for confidential material.
Check Recognition Errors Against the Original
Read the extracted wording beside the photograph. Start with the details where a small mistake could change the meaning. Names, addresses, dates, reference numbers, and money amounts deserve a deliberate check, character by character.
Watch for characters with similar shapes. A lowercase letter can become a number, or punctuation can disappear. An amount written as 18.50 might lose its decimal point. A spelling checker may catch an unfamiliar word, but it cannot reliably tell whether a correctly spelled surname belongs in your letter.
Review each paragraph for missing or repeated wording. On a busy report page, the extracted text may follow the wrong reading order. A heading, caption, or second column can interrupt a sentence. Use the photograph to restore the intended sequence.
Keep corrections faithful to the source unless you intend to rewrite it. Fixing a recognition mistake is different from changing the author’s wording. If a passage is unreadable in the photograph, check the paper or take another image instead of filling the gap with a guess.
Repair Paragraph Breaks and Give the Word File Structure
Once the wording is accurate, fix its flow. Extracted text may contain a line break at the end of every printed line. In Word, those breaks can leave sentences arranged in narrow strips even when the page has room for longer lines.
Turn on formatting marks to see where paragraphs and manual line breaks occur. Join lines that belong to the same paragraph, and keep breaks where a new thought actually begins. Be careful around addresses, headings, and short labels, where separate lines may be intentional.
Search-and-replace can help with repeated breaks, but review a small selection before applying changes across the document. Removing every break at once can merge a whole report into one block. Also check words split across printed lines. Join them when the split came from line wrapping, while preserving hyphens that belong in the wording.
Choose a readable font and consistent body size. Apply Word’s heading styles to report sections, then set paragraph spacing through the formatting controls. Repeated spaces and empty paragraphs tend to create fragile layouts that shift as you edit.
Rebuild any necessary tables as actual tables. Text separated by spaces may look aligned on your screen but move when the font or page width changes. Keep images and signatures only when you need them and have permission to reproduce them.
Set the Page Layout Before Exporting Your PDF
Check the paper size, orientation, and margins before making final layout adjustments. A document prepared for one paper size can wrap differently when changed to another. Choose the size your recipient needs, especially if they plan to print it.
Review the document in print layout. Look for headings stranded at the bottom of a page, isolated lines, and large gaps caused by unnecessary paragraph breaks. Use a page break when a section must start on a fresh page.
For a letter, check the spacing around the date, greeting, closing, and contact details. For a report, check heading consistency, table placement, and page numbering. Add page numbers after the main content is stable, then confirm that they appear where intended.
Save the editable document as a Word file before exporting. Keeping a clearly named working copy makes later corrections easier. You can then update the source and produce a fresh PDF whenever the wording changes.
Open the Exported PDF and Inspect Every Page
Use the PDF export or save option available in your version of Word. An online Word-to-PDF converter is another route when uploading the document is appropriate. Choose a filename that tells the recipient what the file contains without requiring them to open it.
Open the actual PDF after conversion. Scroll through every page and compare its appearance with the Word document. Check the first and last lines of each page, table edges, headers, footers, and any inserted images. Look for unexpected blank pages or text cut off at the margins.
Try selecting and copying a sentence from the PDF. If your goal was a document with usable text, this helps check whether the result behaves as expected. Search for a distinctive phrase as another useful check.
Make corrections in the Word file, save it, and export again. Keeping the editable source current prevents confusion when someone requests another change. Open the replacement PDF once more before sending it.
Send a Finished File You Can Stand Behind
Before attaching the PDF, confirm that you selected the final version. Close any review comments or tracked changes appropriately in the Word document before exporting. Avoid including draft notes or temporary page labels in the shared file.
Send the PDF when the recipient needs a stable reading or printing copy. Include the Word document when they also need to edit the wording. Keep the original photographs in your own records so you can answer questions about the transcription later.
The finished document should feel straightforward to its reader: clear wording, sensible paragraph breaks, and pages that are comfortable to read. A few careful checks turn a phone photograph into something you can revise, save, and share with confidence.