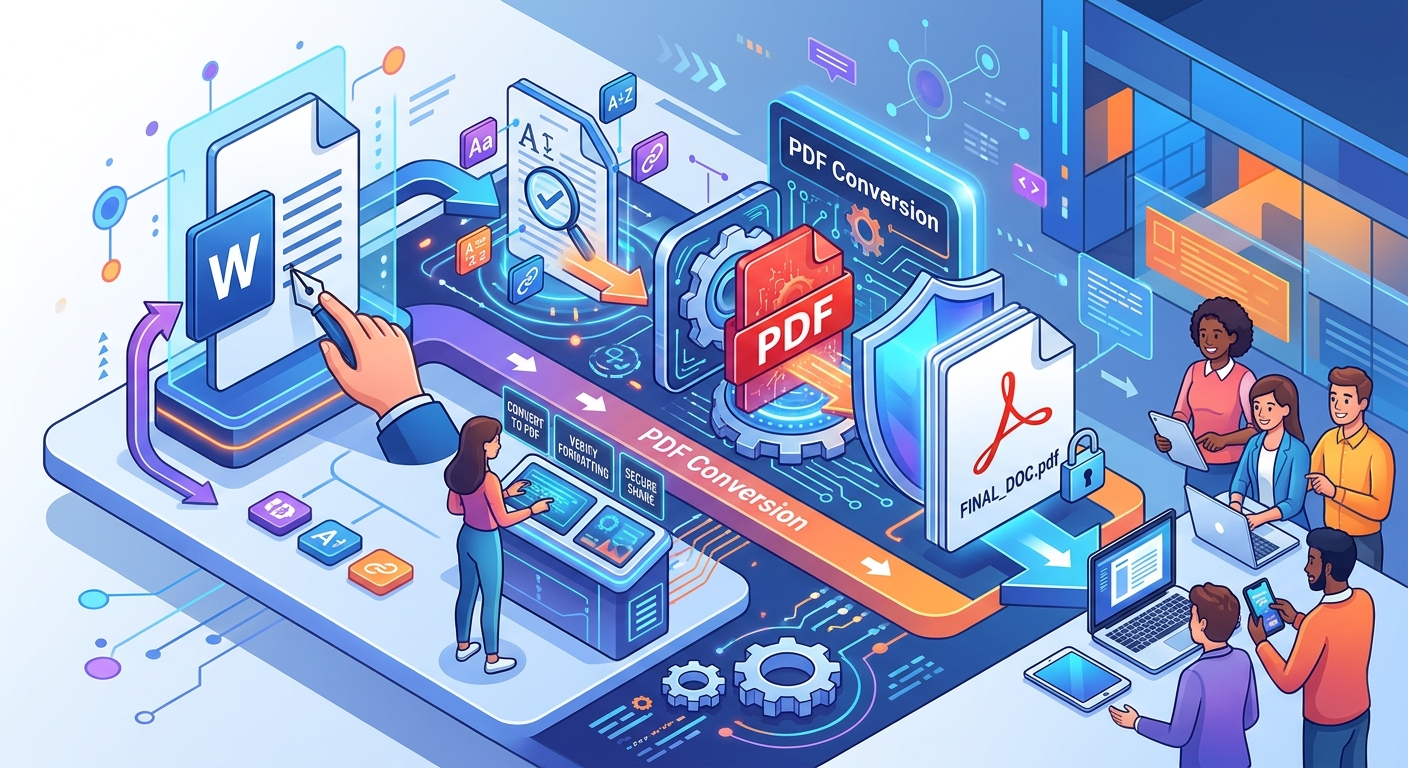
A resume spills onto a second page. A report loses its chart labels. A contract leaves its signature line stranded on a blank sheet. These small problems can slip through when a Word document becomes a PDF, even when the original looked fine. A few careful checks before conversion can save you from sending a replacement file and asking everyone to ignore the first attachment.
Three Checks Before You Share
- Prepare fonts, headings, and images before converting.
- Control page breaks with Word’s layout settings.
- Inspect the finished PDF before distribution.
Start With a Clean, Finished Word File
Conversion preserves many choices already present in your document, including mistakes. Start by saving a separate copy of your finished Word file. Keep the editable original available for corrections, and give the sharing copy a clear name that includes its subject and version or date.
Confirm the page size and margins before adjusting individual pages. A document designed for A4 paper may flow differently after a switch to Letter. That small change can move paragraphs, shift images, and add an unwanted final page.
Turn on formatting marks using the paragraph symbol in Word. This reveals empty paragraphs, manual breaks, and tabs that are otherwise hard to spot. If you have pressed Enter repeatedly to move content downward, those blank paragraphs will become visible. Replace them with paragraph spacing or an intentional page break.
Finish edits before polishing page layout. Adding a sentence near the beginning can push content throughout a long report. Check spelling, names, dates, totals, and contact details first. Then work through the document’s appearance.
Choose Fonts That Survive the Journey
Fonts affect more than appearance. Each font has its own character widths and spacing. If a conversion process substitutes another font, a line may become longer. That can change paragraph lengths and move content onto another page.
Use a restrained font selection. One readable body font and one heading font usually provide enough variety. Check that bold and italic text display correctly, especially if you downloaded a custom font or copied material from another document.
For documents with custom typography, font embedding can help preserve appearance during sharing and online PDF conversion. Availability depends on your Word version and the font’s embedding permissions. Embedding fonts in the Word file still calls for checking the resulting PDF.
Check the Characters That Are Easy to Miss
Review currency symbols, accented names, mathematical characters, and bullets. A paragraph may look normal while one symbol has changed into a square or an empty space. Pay particular attention to content pasted from websites, spreadsheets, or older documents.
Avoid reducing font size just to force everything onto fewer pages. A readable two-page document is often more useful than a cramped single page. For a resume with a firm page limit, tighten repeated wording and excess spacing before shrinking the text.
Give Headings Structure and Breathing Room
A heading should help readers understand where they are. Apply Word’s built-in heading styles instead of making ordinary paragraphs larger and bolder by hand. Use Heading 1 for main sections and Heading 2 for subsections, then adjust those styles to suit your document.
Styles make formatting easier to manage. If every main heading uses the same style, you can change its size or spacing once. You also give the document a structure that supported PDF export settings can use for navigation and accessibility.
Keep the hierarchy straightforward. A short report rarely needs several heading levels. If two headings introduce sections of the same importance, give them the same style.
Keep Headings Attached to Their Text
A heading at the bottom of a page leaves readers searching for its paragraph. In Word’s paragraph settings, use “Keep with next” for heading styles. This helps keep each heading with the content that follows it.
Use paragraph spacing to create room above and below headings. Empty paragraphs are harder to control and may produce unexpected gaps after edits. Check long headings too. A title that wraps onto three lines may need shorter wording or a modest size adjustment.
Make Images Clear and Stable
An image that looks sharp while you are zoomed out may become blurry at normal reading size. Review photographs, screenshots, charts, and scanned signatures at their intended size. Small labels need particular care because readers must be able to read them without guessing.
Start with a good source image. Enlarging a tiny screenshot does not restore missing detail. If a chart looks fuzzy, return to the original spreadsheet or chart file and insert a clearer version.
- Resize images proportionally so faces, logos, and diagrams retain their shape.
- Keep chart labels readable at the size readers will actually use.
- Place captions close to the images they describe.
- Add useful alternative text for images that communicate information.
- Check that cropping has preserved every detail readers need.
For straightforward documents, placing an image “In Line with Text” often makes its position easier to manage. It behaves as part of a paragraph and moves with the surrounding content. Text wrapping can work for more complex layouts, but check the image’s anchor and position after nearby edits.
Compress images carefully if the file becomes difficult to send. Excessive compression can make screenshots and diagrams unreadable. Keep a copy with the original images, then inspect any compressed version before using it.
Control Page Breaks Before They Control Your Layout
Repeated blank lines can make a page look right temporarily. Once you change a font or add a paragraph, that spacing may fall apart. Use an actual page break when a section must begin on a new page.
Reserve section breaks for changes that need them, including a landscape page within a portrait report or different headers in separate parts of a document. Check the break type carefully. An odd-page or even-page section break can introduce a blank page intentionally.
Look for short fragments stranded at page boundaries. Word’s widow and orphan control can help prevent a single line of a paragraph from appearing alone at the top or bottom of a page. Use “Keep lines together” selectively for short blocks that need to stay intact.
Protect Signatures, Captions, and Final Pages
A signature label belongs near its signature line. A caption belongs near its image. Use paragraph settings to keep related content together, then inspect the result. Applying these settings to large amounts of text can create wide empty areas.
If an unexpected blank page remains, turn formatting marks on again. Check for extra paragraph marks, manual page breaks, and section breaks. A table at the end of a document can also push its following paragraph onto another page. Identify the cause before deleting content or changing margins across the whole file.
Choose Conversion Settings That Match the Document
Once the Word file is ready, save it and create the PDF. Word’s PDF export is a useful starting point when available. Review options for document structure tags, bookmarks from headings, and image quality if your version provides them.
An online DOCX to PDF converter offers another route when you need to convert a prepared file through a browser. Review the service’s privacy and retention information before uploading anything confidential. For workplace documents, follow your organization’s approved process.
Choose quality settings around the content. A report full of small chart labels needs enough detail to keep those labels legible. A short text document may need much less storage. File size alone does not tell you whether the conversion succeeded.
If a recipient requires an archival format, accessibility standard, or upload size limit, confirm that requirement before exporting. A PDF filename does not establish compliance with a specific preservation standard. Use the required settings and validation process when one is specified.
Review the PDF as a Reader Would
Open the actual exported file. The Word document and the PDF are separate files, and the attachment is what your reader will see. Begin with a thumbnail view to spot blank pages, large gaps, and unexpected changes in page count.
Then inspect every page at a comfortable reading size. A short document deserves a full check just as much as a long one. On a resume or contract, one misplaced line can have a large effect.
- Compare headings, page numbers, and section starts with the Word file.
- Check fonts, special characters, and the ends of lines for clipping.
- Inspect images, captions, chart labels, and signature areas.
- Click links and bookmarks to confirm that they work.
- Search for a phrase and select text to check basic usability.
- Review headers, footers, comments, and visible revision marks.
Text selection and search are useful checks, but they do not establish full accessibility. If readers rely on assistive technology, review document tags and reading order through an appropriate accessibility check too.
Open the PDF in a second viewer when practical. A browser and a desktop reader provide a useful compatibility check. If readers will use phones, inspect it on a smaller screen. For documents intended for paper, review print preview or print a representative page.
Send a File You Have Actually Checked
Before distribution, check privacy details alongside appearance. Resolve tracked changes deliberately and remove comments intended only for collaborators. Hiding markup in Word is not the same as removing it. Review export settings and inspect the PDF for material that should stay private.
Check document properties for an unintended author name or title. Confirm that the filename identifies the correct document without exposing unnecessary personal information. A PDF also does not prevent recipients from copying, forwarding, or editing its contents.
Make your last check after your last conversion. If you correct a date in Word and export again, inspect the replacement PDF before attaching it. Open the exact file from the location you plan to send, then confirm its name and contents.
Reliable sharing comes from a simple habit: prepare the source, convert it carefully, and review what readers will receive. Fonts stay readable. Headings stay connected to their text. Images remain clear, and pages break where you intended. That final inspection gives your work a better chance of arriving exactly as you meant it.